
Mastering Wooden Wall Paneling: Tips, Tools, and Timeless Design Ideas
Wooden wall paneling is more than a trend—it’s a timeless upgrade that brings depth, warmth, and natural charm to any room. Whether you’re redesigning a single feature wall or giving an entire space a modern rustic makeover, this versatile design element adds texture, character, and functionality. In this guide, we’ll walk you through everything from preparation to installation, with pro tips, practical tools, and answers to common questions.
Why Choose Wooden Wall Paneling?
Wooden wall paneling isn’t just about looks—it delivers multiple practical and aesthetic benefits that make it a smart interior choice.
Aesthetic Impact and Versatility
Wooden panels add a rich, tactile dimension to interiors. Whether you prefer sleek vertical lines or wide horizontal slats, wood introduces a grounding element to any style—be it minimalist, industrial, coastal, or farmhouse.
Durability and Insulation
Quality wooden wall paneling is built to last. Not only does it resist daily wear, but it also contributes to insulation, both thermal and acoustic, especially when combined with proper underlayment.
Easy Maintenance
Wood panels require minimal upkeep. Occasional dusting and polishing are all it takes to maintain their natural beauty. If sealed properly, they also resist moisture and warping over time.
How to Prepare for Installation
Before installing wooden wall paneling, careful planning and surface prep are essential for success.
What You’ll Need
Here’s a checklist of tools and materials for a smooth installation:
- Measuring tape and spirit level
- Pencil or chalk line
- Hand saw or miter saw
- Construction adhesive
- Nail gun or hammer
- Wood filler and sandpaper
- Paint, stain, or sealant (optional)
Pro Tip: Let your panels rest in the installation room for 24–48 hours to acclimate to the humidity and temperature.
Wall Prep Steps
- Clean the wall surface thoroughly.
- Remove any wallpaper, nails, or debris.
- Repair holes or cracks with filler and sand the wall smooth.
- Mark level guidelines for accurate panel placement.
Step-by-Step Installation Guide
Installing wooden wall paneling requires attention to detail, but it’s straightforward with the right approach.
Step 1: Plan and Measure
Calculate the total square footage and determine the number of panels you’ll need. Account for doors, windows, and outlets.
Step 2: Cut to Fit
Use your saw to trim panels according to your wall layout. Always double-check measurements before making cuts.
Step 3: Apply Adhesive
Apply construction adhesive to the back of each panel in a zigzag pattern. Press each panel firmly onto the wall, starting from one corner.
Step 4: Secure in Place
Use nails or brads to secure the panels, especially on uneven surfaces. Aim to anchor into studs whenever possible for added support.
Step 5: Finish and Seal
Fill nail holes with wood filler. After drying, sand the area smooth and finish with paint or stain, depending on your style.
Tips to Ensure a Flawless Finish
- Leave expansion gaps: A 10mm gap at edges helps the wood adjust to humidity.
- Check alignment constantly: Use your spirit level often.
- Handle panels gently: Avoid scratches or dents by using padded tools or gloves.
What to Avoid During Installation
Mistakes can be costly—watch out for these common errors:
- Skipping acclimatization: This can lead to warping post-installation.
- Ignoring wall prep: Panels may not stick or align properly.
- Using the wrong adhesive: Always choose a strong, wood-specific adhesive.
Design Inspiration: Where Wooden Wall Paneling Shines
Wooden wall paneling adds value and atmosphere to many types of rooms. Here are some inspiring placement ideas:
- Accent walls in living rooms or bedrooms
- Textured ceilings with wood slats
- Kitchen islands or breakfast nooks
- Hallway upgrades with vertical panels
- Office backdrops for video calls
Wood Paneling Descriptions
Here are common types of wooden wall paneling and how they’re typically used:
Tongue and Groove:
Interlocking edges for a seamless look—perfect for contemporary designs.
Shiplap:
Overlapping horizontal panels that bring a farmhouse or coastal vibe.
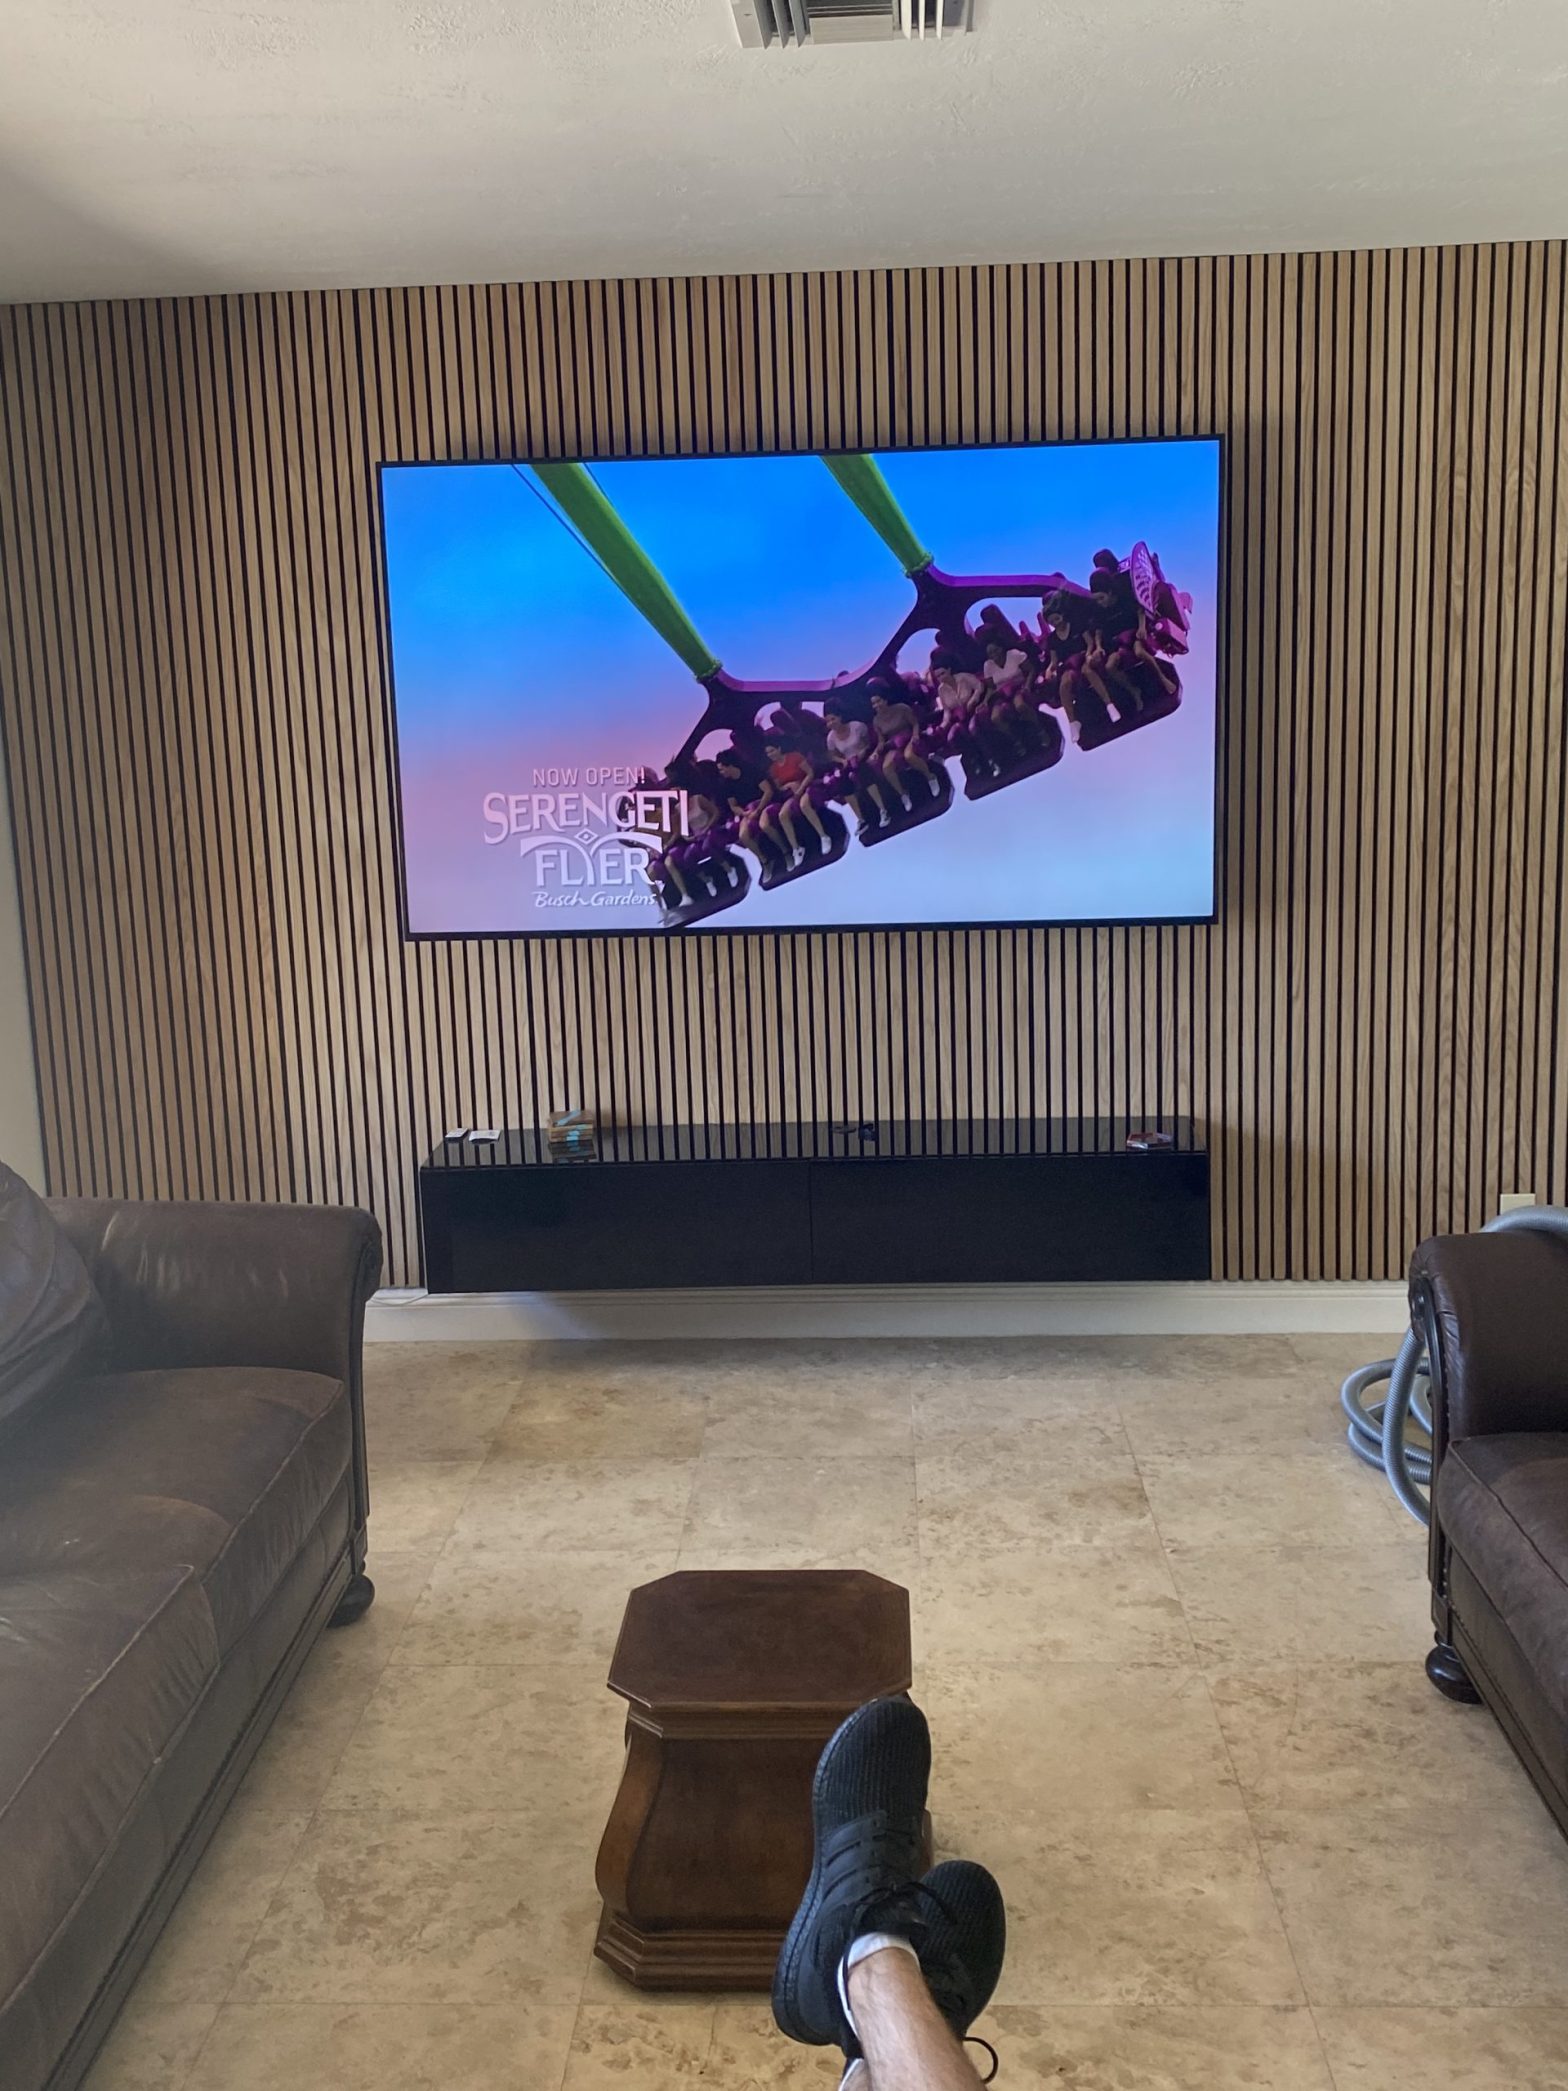
Slatted Panels:
Slim vertical strips often used for acoustics or decorative walls.
Reclaimed Wood Panels:
Eco-friendly and rich in texture—ideal for rustic or industrial spaces.
Frequently Asked Questions (FAQ)
What’s the best wood type for indoor paneling?
Softwoods like pine and cedar are popular for their affordability and workability. Hardwoods like oak offer more durability.
How long does wooden wall paneling last?
With proper care and finishing, wood paneling can last for decades.
Can I install wooden wall paneling in a bathroom?
Yes, but choose moisture-resistant wood and seal it thoroughly to prevent damage.
Do I need to paint or stain my panels?
Only if you want to alter the appearance. Unfinished wood has a natural charm, while painted panels offer a modern edge.
Where can I buy high-quality wood paneling?
For top-grade options, explore Wood Panel New York or browse the full collection at Wood Panel Walls. For digital solutions to enhance your design process, visit Worldigital.